How to make edits to the Form in Pardot

If you’re using Pardot, a powerful marketing automation platform, you might need to make changes to your online forms. Whether you want to collect visitor information or update existing forms, this step-by-step guide will help you navigate the process.
Understanding the Basics Before we dive into the steps, let’s clarify some key terms:
Form: A form is like a digital questionnaire. It’s where people can type in their name, email, and other information. Forms are vital for gathering data from your website visitors.
Pardot: Pardot is your marketing assistant. It automates marketing tasks, including form management.
Pardot forms come in different styles that are determined by their layout templates. These templates ensure that forms can share the same style to maintain a consistent brand experience or have their unique style.
Now, let’s get to the action:
Step-by-Step Guide to Editing a Form in Pardot:
- Log in to your Salesforce account: This means accessing your Salesforce/Pardot account using your username and password.
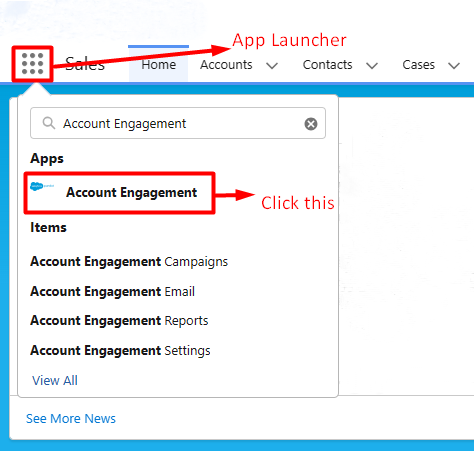
- Click the App Launcher: In Salesforce, the App Launcher is a menu where you can find various apps. Clicking it opens a list of available apps.
- Search “Account Engagement”: Use the search function to find the “Account Engagement” app within Salesforce.
- Click “Account Engagement” under Apps: This selects the Account Engagement app as the one you want to work with.
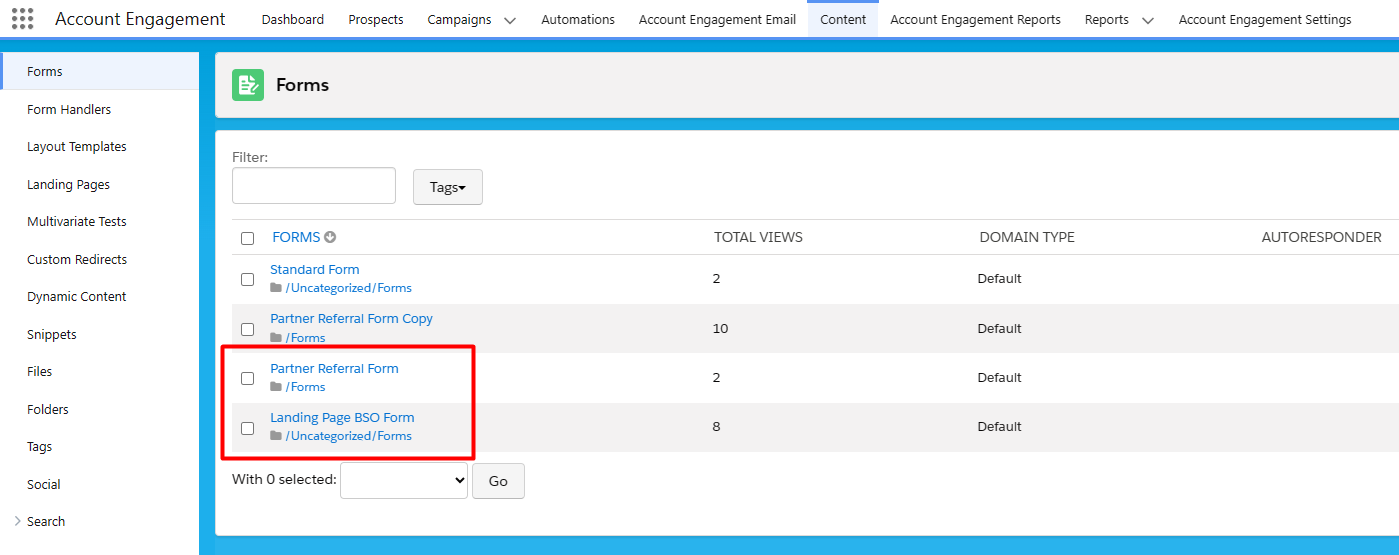
- Click Content Tab in the Navigation bar: This involves selecting the “Content” tab in the navigation bar, which is likely where your forms are located.

- Click on the Forms used in the Landing Page: Access the specific forms that are used in landing pages within the Content section.
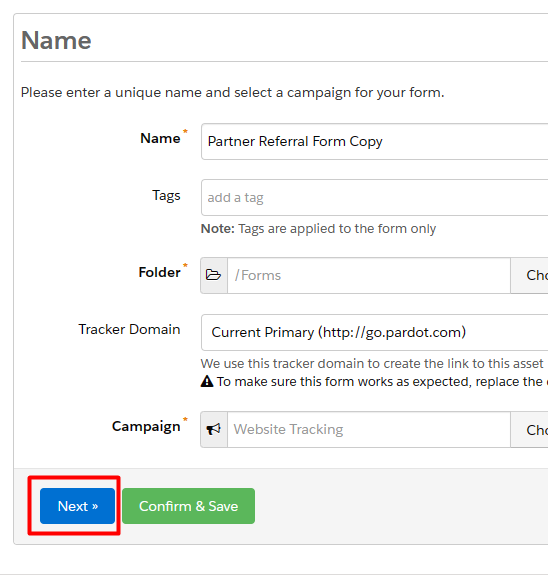
- Click Edit Form: This allows you to enter the form editor, where you can make changes to the form.

- Click Next: Proceed to the next step in the editing process.
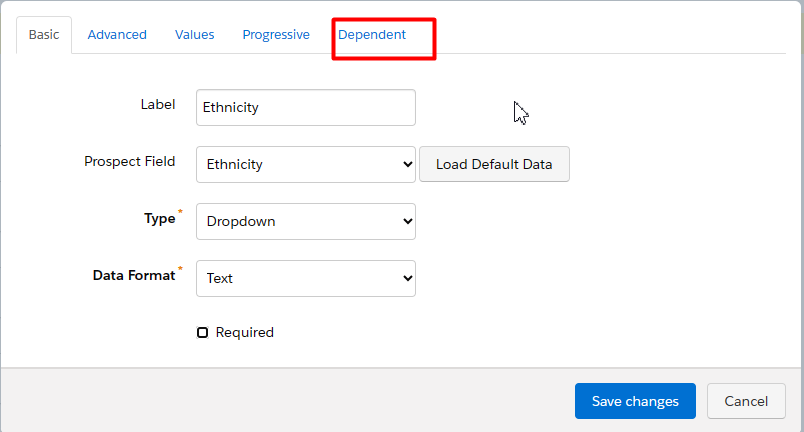
- To add a new Field: If you want to include a new data field in the form, follow these steps.
- Select a Field in “Prospect Field”: Choose the type of data field you want to add, like a text field, email field, or number field.
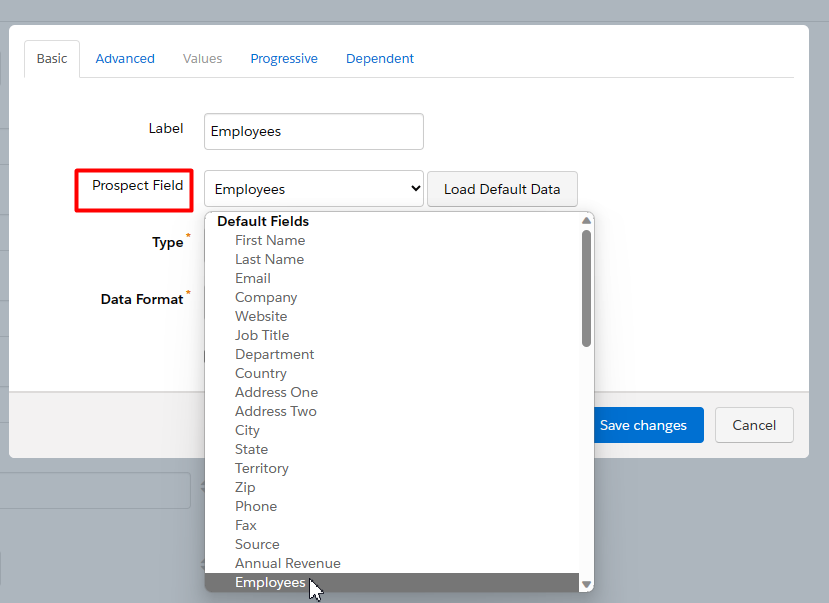
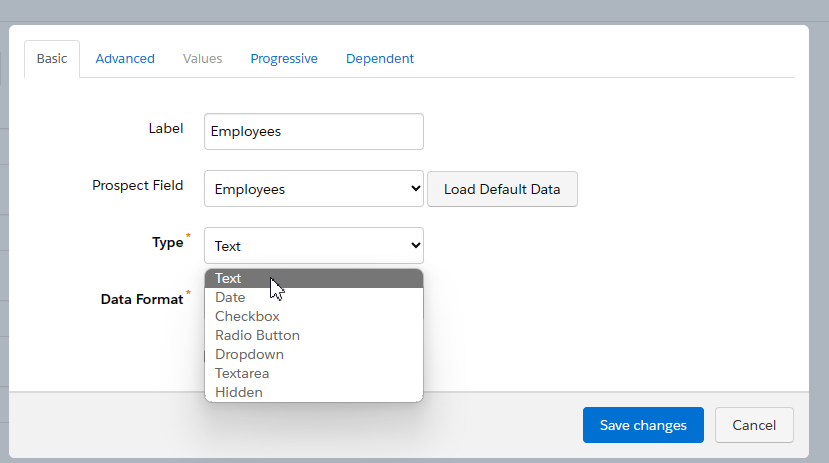
- Select a Type: Specify the type of data that the field will hold, such as text, email, or numbers.
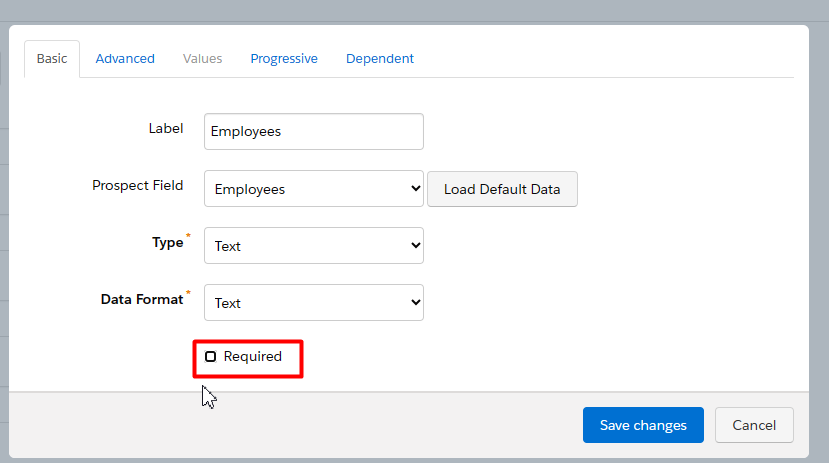
- Select a Data Format: Define the format for the data input. For example, if it is an Email choose to email, a number choose number, and the rest choose Text.
- Specify whether the field is required or not: Decide if this field is mandatory for users to complete the form.
- Click “Save Changes”: Save your modifications to the form.
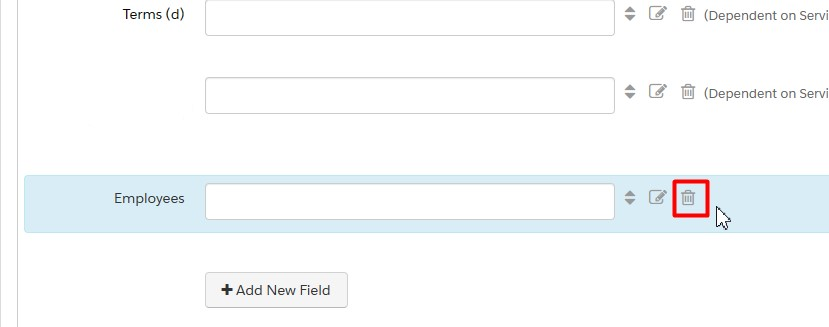
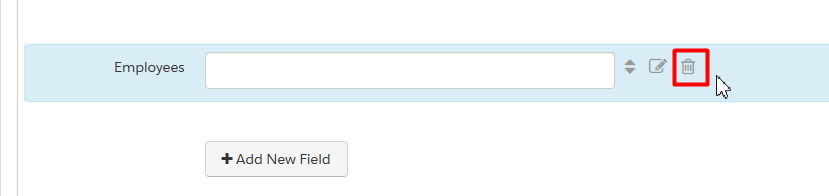
- To delete a field: If you want to remove a field from the form, use the Trash Bin icon next to that field.
- To Edit Existing Fields in the form: Click on the pencil icon (Note) next to the field you want to edit.
- To move the fields up and down: Use the up and down arrow icons to change the order of fields on the form.

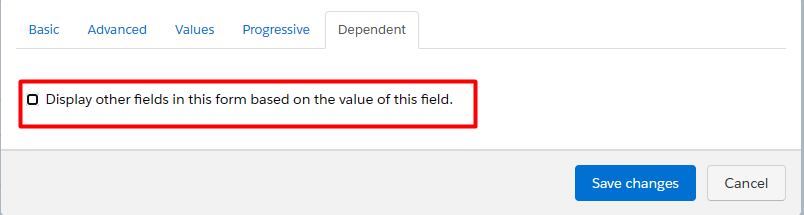
- To make a field dependent: If you want one field to appear based on the value entered in another, follow these steps.
- Click Dependent tab
- Check the “Display other fields in this form based on the value of this field” box.
- Enter a valid value in the field “When this field equals:”
- Select a field in the “Show this field” dropdown field.

- If you have more fields to add, Click the “+Add Another” button, and more field-dependent fields.
- Click “Save Changes”.
- Click Dependent tab
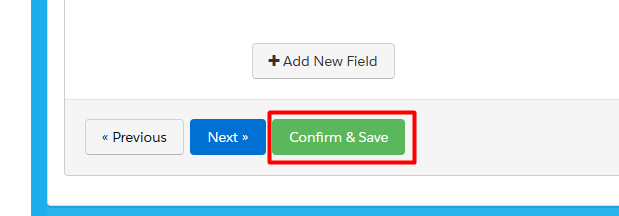
- Once the changes have been made: After you’ve made all the edits and adjustments, confirm and save the changes.
